


- Joined
- Jan 14, 2006
- Messages
- 342
- Reaction score
- 4
I did a trigger job on my prohunter. The Bellm site has some good pics on their free download... http://www.bellmtcs.com/store/index.php?cid=456

I personally like a trigger pull (for hunting) to be around 2 lb. This prohunter I recently bought was almost 5. This is my first encore trigger job. The parts were easily removed from the receiver/frame with push-pins. The trigger guard screw is threaded. The trigger pin, sear pin, and hammer pins are all different sizes...cant put the wrong ones in the wrong place..at least not easily.. :lol:

The parts in the pic are, from left to right...hammer, sear, trigger, trigger guard, hammer pin, sear pin, trigger pin, trigger guard pin, interlock, grip adapter, below it- hammer strut with hammer spring, trigger guard strut, trigger guard spring. Above those is the frame/ receiver and sear/trigger spring. I polished the mating surfaces of the hammer, sear notch, where sear contacts trigger and top of trigger that contacts sear. Some pics..not the best..sorry


Using the factory sear/trigger spring...I got down to about 3.5lb..checking with my RCBS trigger pull scale. I made a new spring out of .031" wire and then had to alter the angle of the sear notch

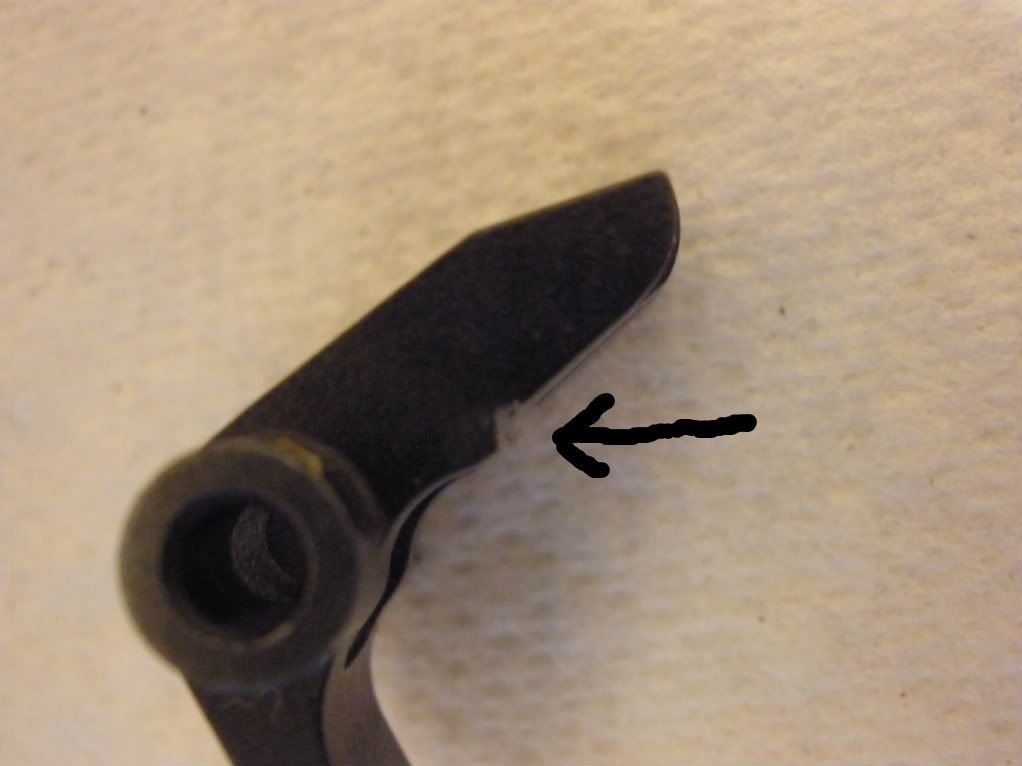
The notch needs to be more "horizontal" for the hammer to engage it fully.
Pic to try to show the angle of the factory notch and the altered.
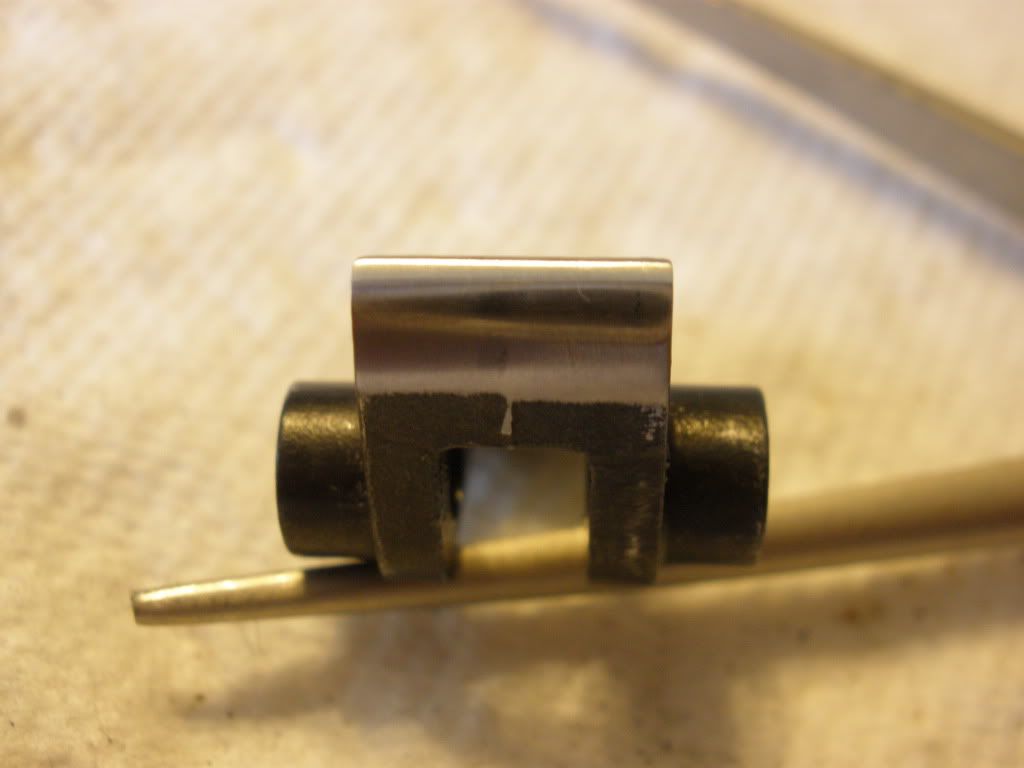
After changing the notch... and re-polishing it...the hammer cant be pushed off the notch. And the trigger pull is 1 3/4 lb. and smooth. I may try some .035" spring wire and see where that get me. As far as the honing..I used several different things. A hard arkansas stone and a knife blade with oiled 600 wet/dry paper...for the notch. Also have a diamond needle file set for altering the notch angle. I saw at his site, Bellm uses a special set of pliers for installing the spring. I made a installation pin from an old 1/8" drill bit..(.125") see pic..the shorter one.
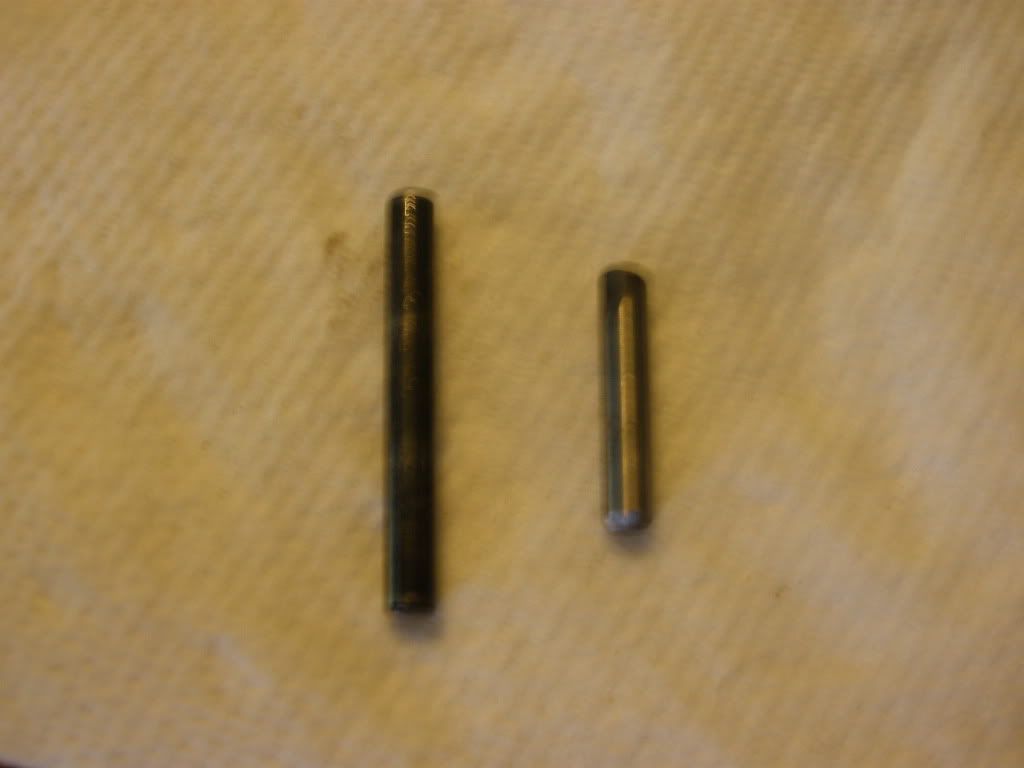
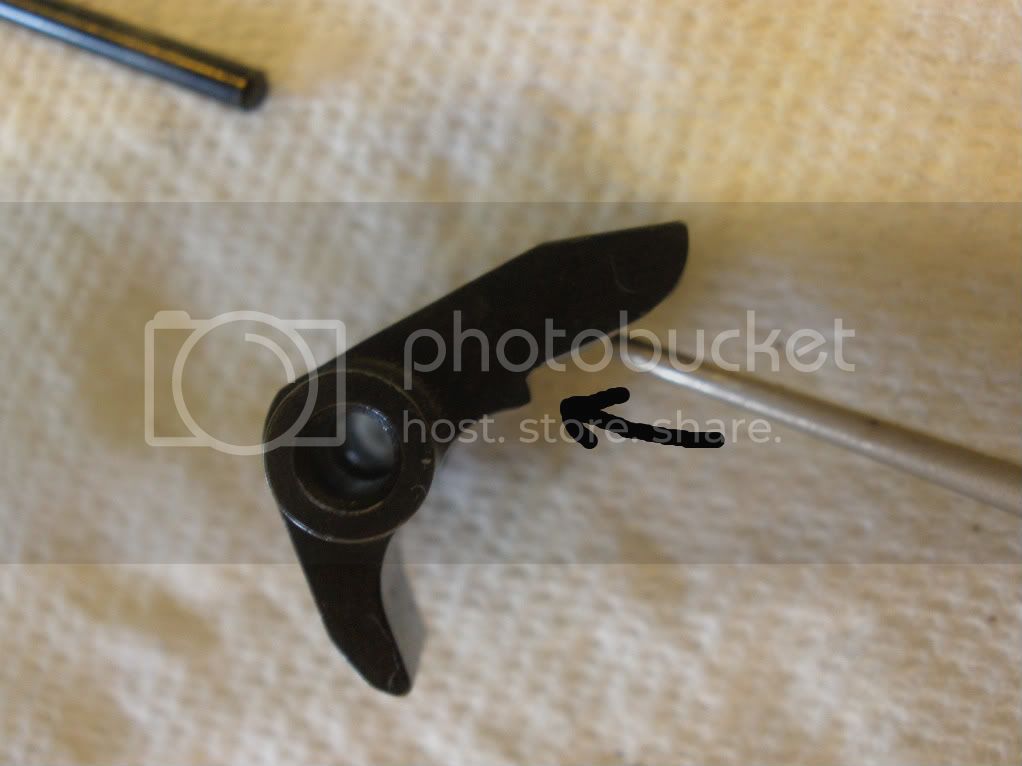
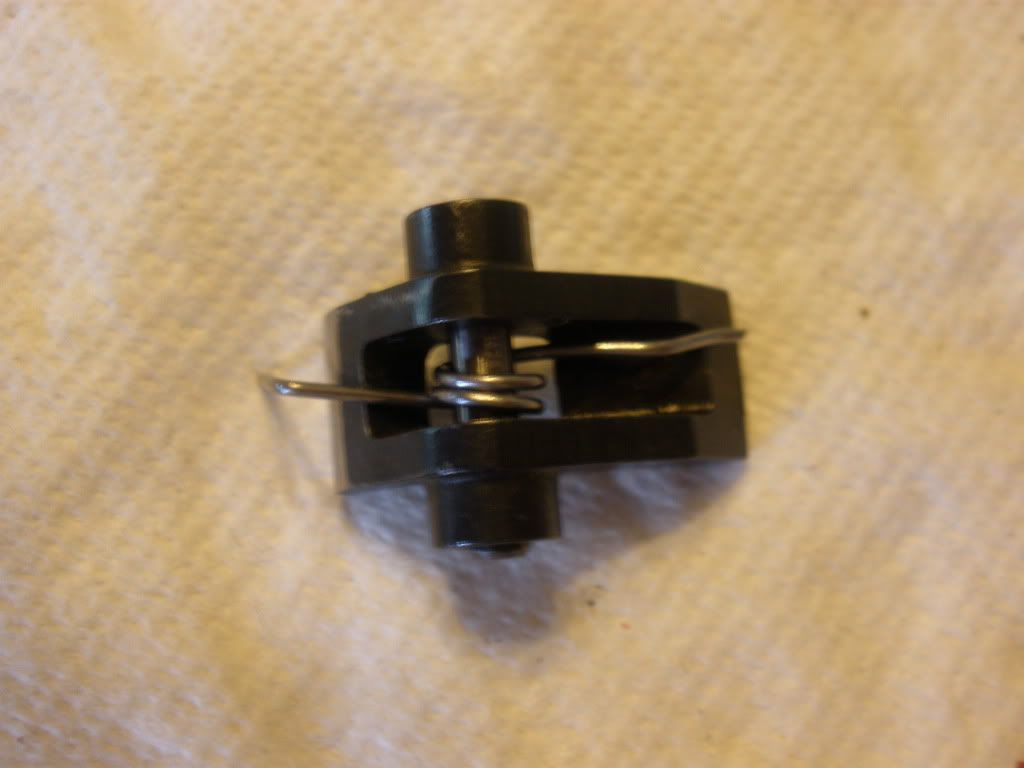
It needs to be no longer than .640"-.650". Use your grinder. It is used to hold the spring in place on the sear and with the interlock..inserted into the frame. When in position..you push out the shorter pin with the longer from the outside..works perfectly. I would think this is easier to manipulate than those pliars. Pic of sear with spring & installation pin.
I could show step-by-step.. pic by pic reassembly of parts if anybody wants to see it? (this stuff takes a lot of time..at least for me )
I personally like a trigger pull (for hunting) to be around 2 lb. This prohunter I recently bought was almost 5. This is my first encore trigger job. The parts were easily removed from the receiver/frame with push-pins. The trigger guard screw is threaded. The trigger pin, sear pin, and hammer pins are all different sizes...cant put the wrong ones in the wrong place..at least not easily.. :lol:
The parts in the pic are, from left to right...hammer, sear, trigger, trigger guard, hammer pin, sear pin, trigger pin, trigger guard pin, interlock, grip adapter, below it- hammer strut with hammer spring, trigger guard strut, trigger guard spring. Above those is the frame/ receiver and sear/trigger spring. I polished the mating surfaces of the hammer, sear notch, where sear contacts trigger and top of trigger that contacts sear. Some pics..not the best..sorry
Using the factory sear/trigger spring...I got down to about 3.5lb..checking with my RCBS trigger pull scale. I made a new spring out of .031" wire and then had to alter the angle of the sear notch
The notch needs to be more "horizontal" for the hammer to engage it fully.
Pic to try to show the angle of the factory notch and the altered.
After changing the notch... and re-polishing it...the hammer cant be pushed off the notch. And the trigger pull is 1 3/4 lb. and smooth. I may try some .035" spring wire and see where that get me. As far as the honing..I used several different things. A hard arkansas stone and a knife blade with oiled 600 wet/dry paper...for the notch. Also have a diamond needle file set for altering the notch angle. I saw at his site, Bellm uses a special set of pliers for installing the spring. I made a installation pin from an old 1/8" drill bit..(.125") see pic..the shorter one.
It needs to be no longer than .640"-.650". Use your grinder. It is used to hold the spring in place on the sear and with the interlock..inserted into the frame. When in position..you push out the shorter pin with the longer from the outside..works perfectly. I would think this is easier to manipulate than those pliars. Pic of sear with spring & installation pin.
I could show step-by-step.. pic by pic reassembly of parts if anybody wants to see it? (this stuff takes a lot of time..at least for me
)