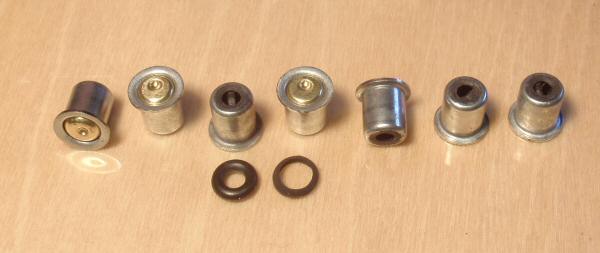
sabotloader said:GM54-120
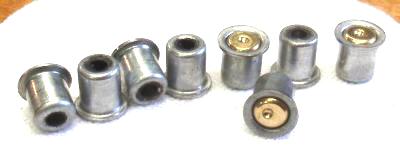
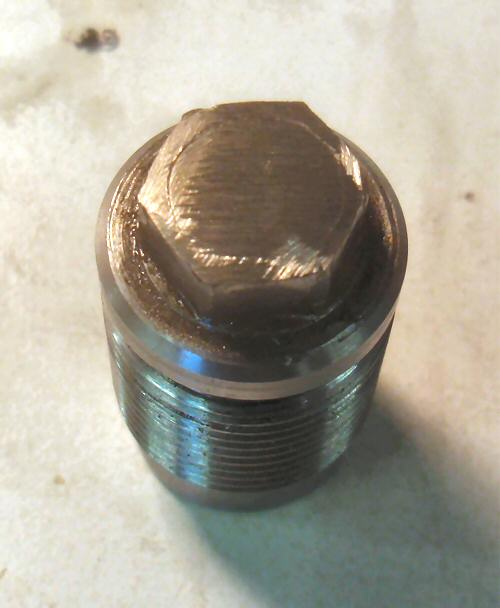
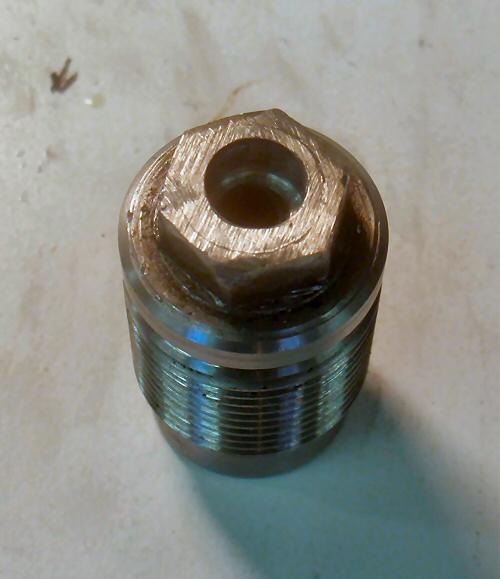
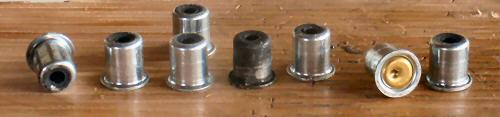
#5-193 is a commercial high pressure 'o' ring and yes that is the one - sometimes you need to 2 rings per pocket.....
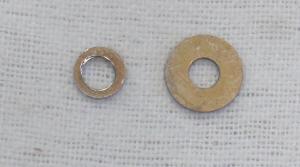
Or 1 "o"-ring and a SS shim.


sabotloader said:GM54-120
#5-193 is a commercial high pressure 'o' ring and yes that is the one - sometimes you need to 2 rings per pocket.....
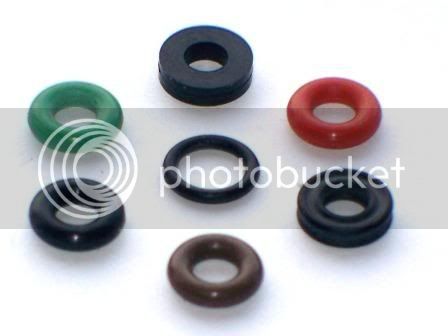
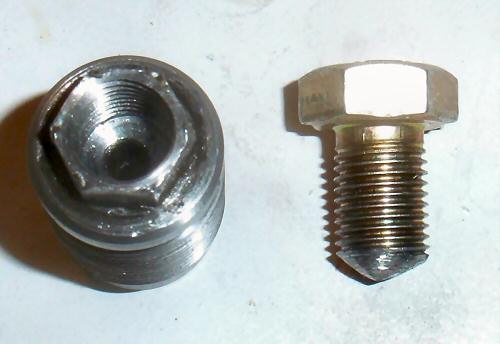
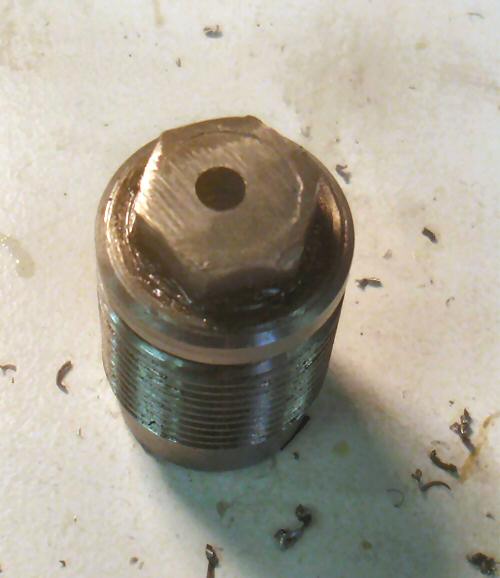
fisher2072 said:I tried a few different o-rings in my knight lrh with the non-fpj plug this past fall to no avail. The center part of the oring would blow out and clog the front of the breach plug causing missfires about 10-15% of the time. Anyone have suggestions to try with this rifle and plug combo?
k said:these o-rings are also to large for both of my NFPL conversion's that i've purchased (one about 9 mo.ago the other yesterday)both are very close to being blowback free.i have not measured what thickness of material i could put in there but i think even one washer might be to much.i'm thinking of making some out of .004+.007brass shim stock that i have.i have also noticed leakage out of the battery cup of the primer so at least some of my blowback can be contributed to that.for right now i'm pretty happy with my knight conversions but i really like everyone's vent liner mods ..........karl
fisher2072 said:I tried a few different o-rings in my knight lrh with the non-fpj plug this past fall to no avail. The center part of the oring would blow out and clog the front of the breach plug causing missfires about 10-15% of the time. Anyone have suggestions to try with this rifle and plug combo?
fisher2072 said:My results were discouraging to. I thought about trying some teflon tape wrapped around the sides of the primer, of rubber dip on the primer sides " for dipping plier handles in ect." I'll try a few things when I get a chance to make it back out to the range. I might try turning down a washer too, it might be the best solution. I love how my knight shoots, but it sure takes a long time to clean up.
ronlaughlin said:
jsteurrys said:My receiver area stays completely clean now using the "o"-ring and I have not had any misfires. When using the red FPJs, it use to take me 20-25 minutes to scrape and wire brush the hard build-up from the receiver area along with having one very weak fire that the bullet barely cleared the barrel. I only get some primer leakage on the bolt face now which wipes off using a Q-tip. I will be modifing my bolt in an attempt to fix this.
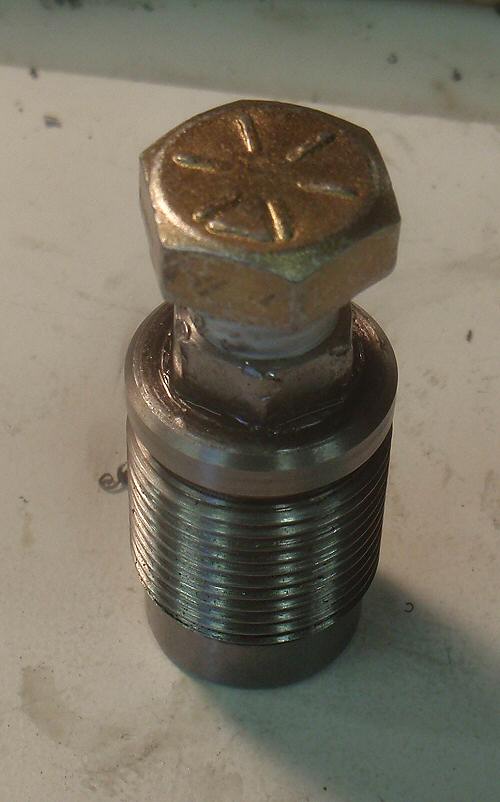
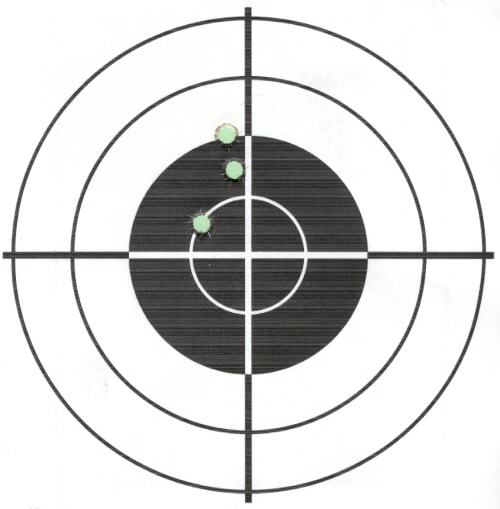
Busta said:..........................the pic of your o-ring with the seven primers tells me that you are compressing it too much....................... Less compression is best!..................................
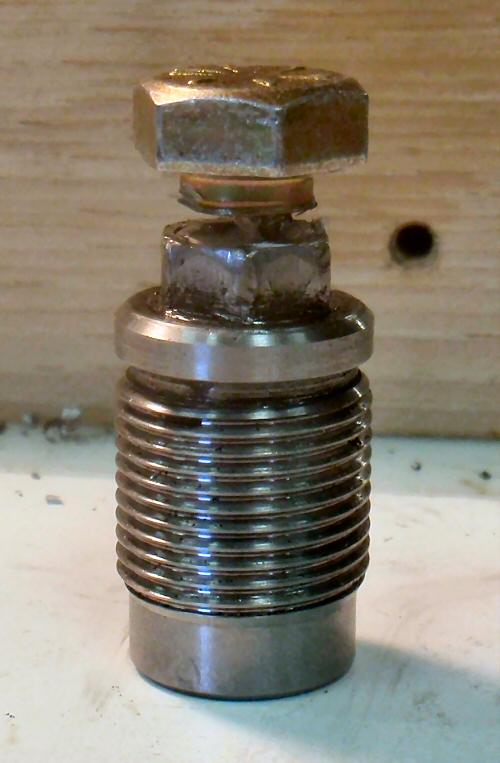
deerslayer68 said:................................... i'm half convinced blowback is enevitble and willing to deal with it as long as it's tolerable.
Enter your email address to join: